This Post will show the construction of the replacement module for my swimming pool and local SP Superintendent's house. The pool water on my original module turned into what looked like old floor wax buildup. I had used Woodland Scenics Realistic Water and it looked like it evaporated leaving a very shallow cloudy brown mess in the bottom of the pool.
The old pool was made from a plastic hardware box that had contained wood screws and was only ¾" deep so I had darken the paint on one end to give the illusion of a deep portion. This time I'm using a much deeper hardware screw box and made a sloped partition for the shallow end. I'm also replacing the plastic Supers' house with a scratch build Sears Catalog home.
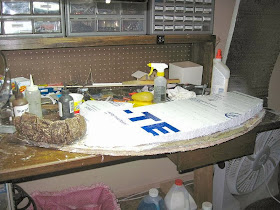
The picture below shows the quarter Moon shape of the ½"OSB base of the new module with 1½" thick foam board glued to the top with Elmer's Carpenters Wood Glue.
After cutting the foam to the proper height I covered the foam with a sheet of Plastic Wrap to prevent the Paper Mache sticking to the foam and warping it as it dried. Next came a thin coat of Paper Mache on top of the Plastic Wrap. After the Paper Mache was fully dried I cut the hole for the pool.
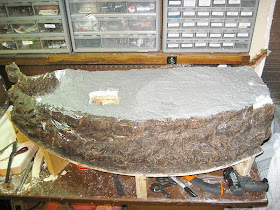
I removed the rock frame section from my layout and brought it to my workbench so that I could mate the Paper Mache to the top of the rocks. The Plastic Wrap will also protect the rocks from the wet Paper Mache.
As the pool has both an above ground light and under water lighting I cut a slot in the foam board and installed a piece of ¼" plastic tubing as a "conduit" for the wiring.
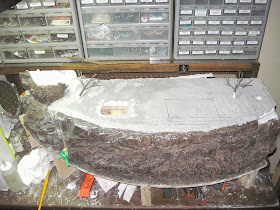
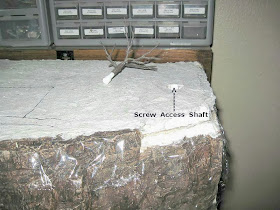
The picture above shows the module with the final coat of Paper Mache that has fully dried. I thickened the edges to match up to the rocks in the bottom frame and the adjoining module. The two deciduous tree armatures are actually plugs to conceal the two holes for the wood screws that lock the module to the rock frame.
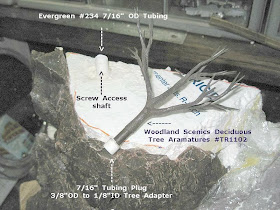
The pictures above and below are closeups showing the trees that disguise the access holes for the two wood screws.
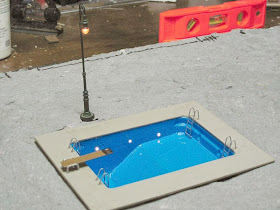
The Picture below shows the pool temporally in place along with the bishop's Crook lamppost, the underwater lights and the lamppost are on.
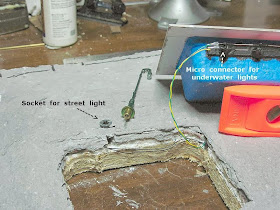
Added October 9th.
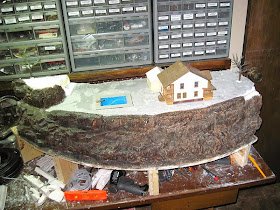
In the picture above I have the house, garage and pool in place to make sure everything will fit as planed.
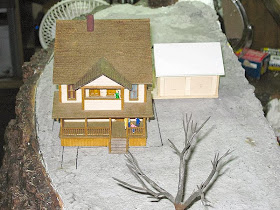
Here I have moved the house and garage an inch further to the left to allow more separation between the garage and the neighbors house on the adjoining module.
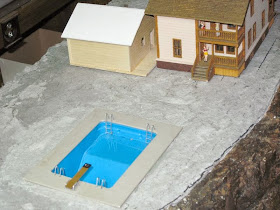
I built a new single story garage and have it in place, the two story garage didn't look right when I put the module on my layout.
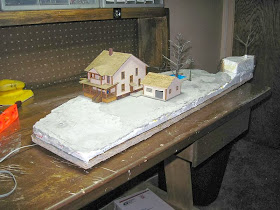
Another view before I start the scenery.
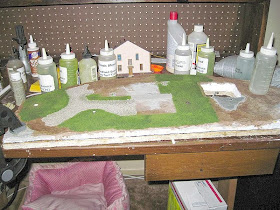
Here I have removed the structures and started on the scenery. The flocking process is going very well. The darkened area in the gravel driveway is wet white glue. I had a large crack pop up in the Paper Mache next to the pool so I cut it out and did a patch. This is a good stopping point to allow the patch to dry.
Pictures added October 11
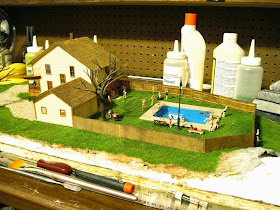
The picture below shows everything temporarily in place before going further with the scenery.
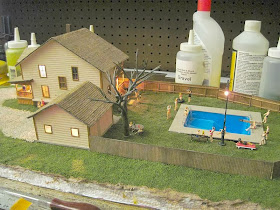
I experimented with my camera taking pictures with very low lighting. The picture below was taken with a single 9 watt 2700K LED flood pointed at the ceiling for minimum light so that my module lighting could be seen.
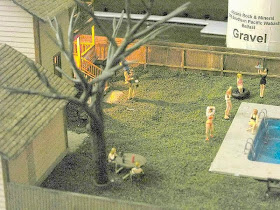
I increased the brightness, contrast and sharpness with LView Pro, the picture is quite grainy but I worked out very well showing the module lighting.
Pictures added October 11
The picture below shows everything temporarily in place before going further with the scenery.

I experimented with my camera taking pictures with very low lighting. The picture below was taken with a single 9 watt 2700K LED flood pointed at the ceiling for minimum light so that my module lighting could be seen.

I increased the brightness, contrast and sharpness with LView Pro, the picture is quite grainy but I worked out very well showing the module lighting.

I retouch my pictures with LView Pro because I'm not very good using Adobe programs. I find LView Pro much easier to use than Photoshop.

