

I searched the Antique Home Site and come up with the Hickory House. It has three bedrooms on the second floor and I modified the storage area to become a large model railroad room.

My wife and I really like the wrap around front porch and I even added a porch above the rear porch as a veranda off the Train Room. As we no longer have our kids living with us we will use bedroom 3 as a hobby room also with access to the veranda.
The study on the first floor can double as a guest room.
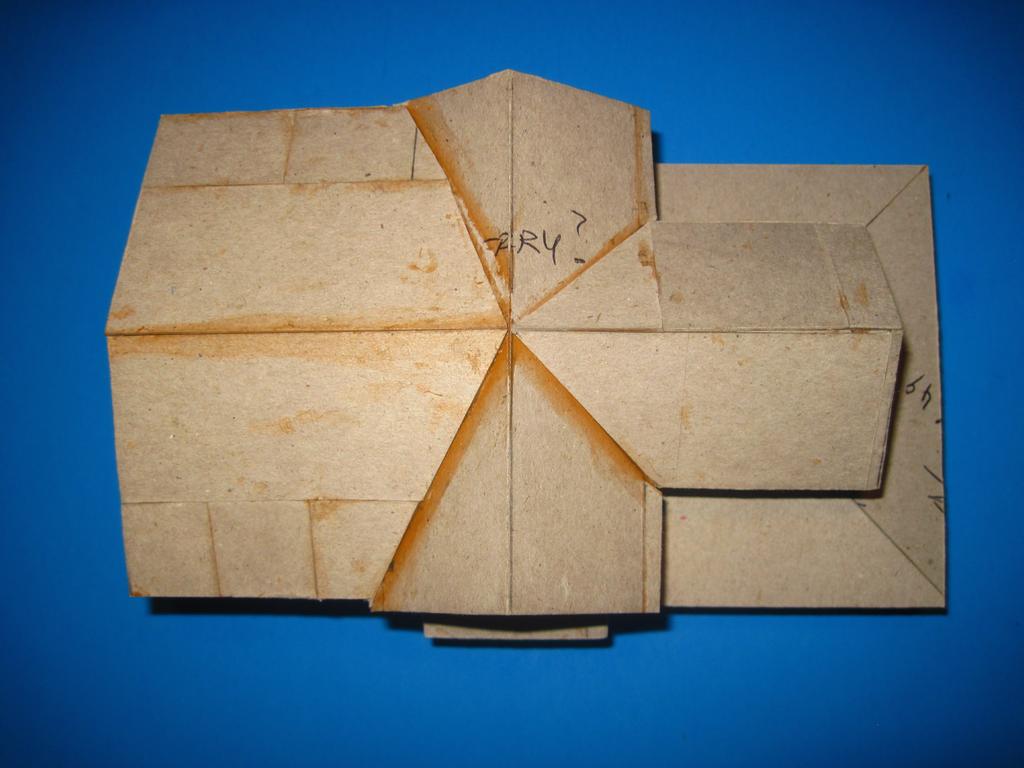
I made full size HO drawings on my CAD to use as templates to make the walls.

Cutting the Midwest basswood siding was very easy using the templates.

I really like the Campbell/Northeast Scale Lumber corner posts for wood construction
and Midwest basswood siding. I make my own corner posts on my Dremel
Router using 3/16" x 3/16" basswood strips.


I have Tichy windows and doors on order.


The connectors on the porch roof worked out extremely well. The 2.5mm 35ma bulbs work very good for the porch lighting, I went with 4mm 70ma bulbs for the interior lighting. I operate all my 12 volt lighting at 8½ volts for longer life as well as at a lower voltage they look much more realistic.


I have a problem preventing my wiring from looking like a bowl of spaghetti, honestly it looked much better before I fixed my first screw up.
My first go-round with the power connector wasn't very good, I used a 16 pin single row micro connector. The screw-up was it calls for a large hole in my layout to pass the wiring. Rather than remove the single row connector I added a second double row 16 pin connector in parallel.

Now instead of a 1¾" oblong hole in my layout a ¾" round hole will pass the connector from the Arduino. I can still use the single row connector for testing the bulbs.
This picture is the lighting connector wiring for houses wired for my Arduino Random Lighting Controller. It randomly turns all 14 lights on and off simulate occupancy in the house.

I use a 16 conductor flat ribbon cable between the Arduino Expansion Driver board and the house.


One problem with lighting up structures is eliminating light leaks. I use 1/16" x 1/8" basswood strips under the inside edge of the roof to prevent light leaks. The basswood also gives the roof some additional stability keeping it in place with out any glue leaving the roof easily removable.

The roof is made from two layers of .02" thick card stock to hold the shingles, at this point I'm undecided as witch type of shingles to use. I have both Campbell 800 shingles and Plastruct embossed Styrene shingle sheets on hand.
I use "EcoSwift" Chipboard off eBay for my card stock.
I decided to use the Plastruct Stryene shingles. The Styrene is much easier compared to the Campbell shingle strips.

I'm still struggling with making the Styrene look like wood.
Next is some detailing work. I used Tichy railing for the front porch and Grandt Line railing for the veranda porch.

Everything is removable in this build to make modifications easier down the road. With all the new high-tech goodies available now days I'm leaving my new projects open for upgrades.


I used Tichy Turned Wood Porch Post for roof supports.

I'm back to waiting on parts to finish the windows and railing.


Here it's Styrene to Styrene joint.
Using pins for the railing is the way to go, don't know why I didn't think about doing it that way years ago.

I have always ended up breaking the railing while working on the structures. With this method the railings are easily removed and replaced.
Ever missed a spot while painting that was in a very hard to get to area? While doing some spot touch ups to kill some light leaks one area was not doable with a regular brush so I made a difficult to get to brush.

Ye old soldering iron to the rescue. I bit of heat to the plastic brush near the bristle end and a twist with long nose pliers and I have a 90° angle brush. Now I don't have any light leaks.
While I'm waiting for the windows to arrive I decided to add a garage to the Hickory House.
I had started building a garage several years ago and didn't like how it was going. I was going to add it to my Swiss Chalet but I had run of of Batten board siding so I used Clapboard siding. It didn't look right so I put it in the scrap wood box.
The Hickory House is Clapboard so I resurrected the garage.
This is the floor plan and wall templates for the garage.

I used the same Plastruct Styrene shingles. I've done a little better finishing the Styrene.

I'm getting better at finishing Styrene, checkout the shingles.

The base is ⅛" plywood with wadded up mailing adds soaked in Elmer's glue stuffed under it for filler.
Again I'm stuck waiting on windows.
I did over haul the lighting in both structures, there are a total of 21 rooms and porch lights that are driven off one of my Arduino Lighting Controllers. The Arduino UNO only has 20 ports so bulb #21 is driven from a diode matrix.
While waiting on the windows and door I started the scenery around the two house base plates. I decided to go with Paper Mâché for the scenery base.

This is the first picture taken under my new LED lighting in the garage. I have used WS Earth Undercoat on the Paper Mâché and Elmer's All Purpose White Glue mixed 8 parts water to 1 part Elmer's to make the gravel road mud. The 2" putty knife works very good to trowel the mud into a very good looking road.
Now that I have removed the fluorescent lighting and installed LED lighting the scenery wont fade anymore, big improvement. Fluorescent lights putout UV rays and ultra violet rays dings the color over time on everything. Once I get scenery looking good it wont fade anymore.
December 28th update
I finally received my Tichy order. It took over 24 hours to paint, make the window curtains and install everything. This is the first time I've used white for the trim on any of my scratch builts.


Here are some closeups of some of the Hickory House occupants, all but one are hand painted.


More as I progress on this addition, next is installing the house on my layout.
I finished the garage and its ready to be installed on my layout.


Next will be to install both the Hickory House and garage on my layout.

1 comment:
I like you work on the farm house. Can I use some of your ideas?
Post a Comment